Installing WordPress on the Canakit Raspberry pi 4 Extreme kit, with Ubuntu Server 64 bit and Docker containers

Many years ago it was almost impossible to think you could run a Linux server in your home, let alone install and try software quickly without having to spend days (if not months) becoming an expert.
Raspberry Pi computers, this tiny affordable, powerful, versatile pieces of hardware paired with Docker containers are like Peanut Butter and Jelly as they solve the affordability and ease the installation issues for you.
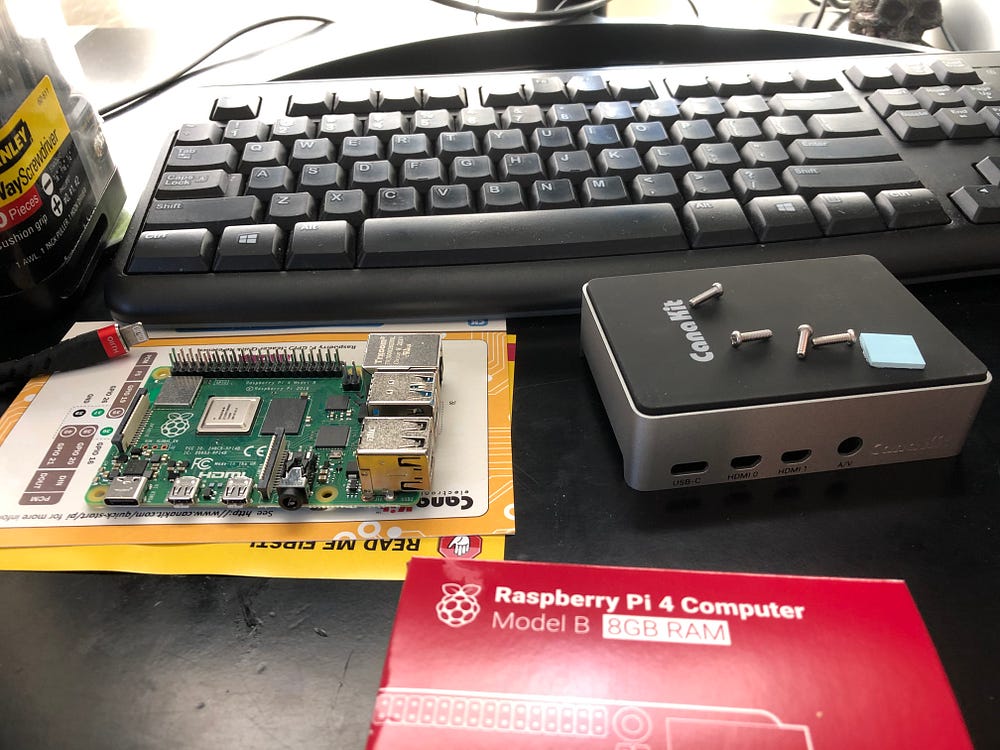
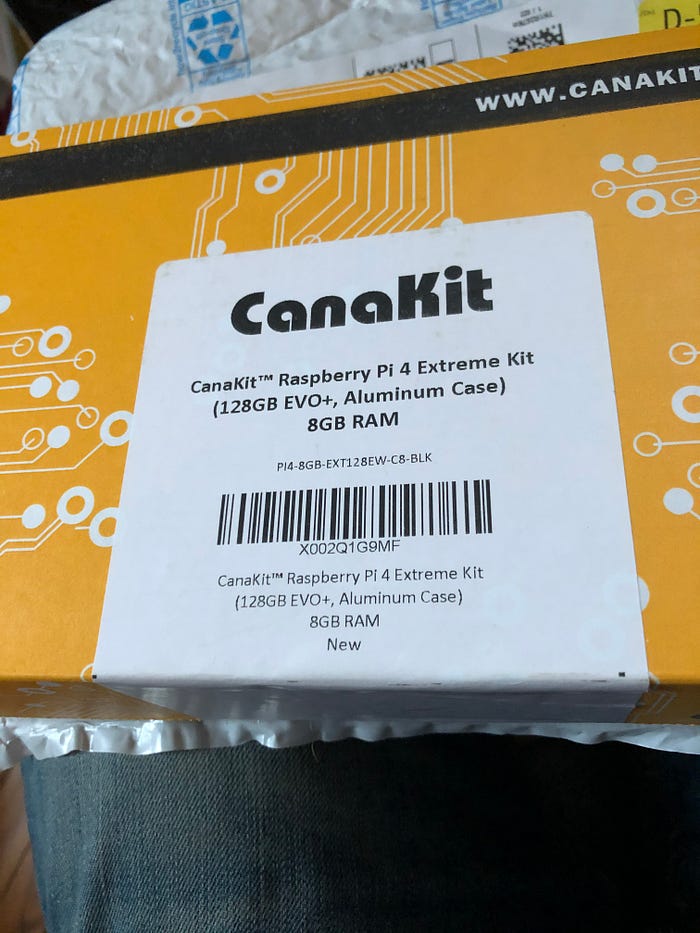
I want to use the Raspberry Pi to run a copy of a WordPress site I own as quickly as possible. Docker containers are very good for that purpose. I went around looking for a nice starter kit (with a few more capacity than the basic models) and I ended buying the ‘Extreme Kit’ from Canakit.
Before you go on reading this small tutorial, I assume you are comfortable around installing hardware and you are familiar with Linux and of course WordPress and MariaDB. I provided links to other tutorials where this steps are explained in more detail and also encourage you to share your thoughts on the comments section.
And yes, you need root ;-)
Final disclaimer: I do not work for Canakit or got sponsored in any way. Same for Docker and the other software I mention on this article. I really like their products and I hope my experience can get you motivated to do cool things with this setup.
Raspberry kit Installation: Everything works out of the box

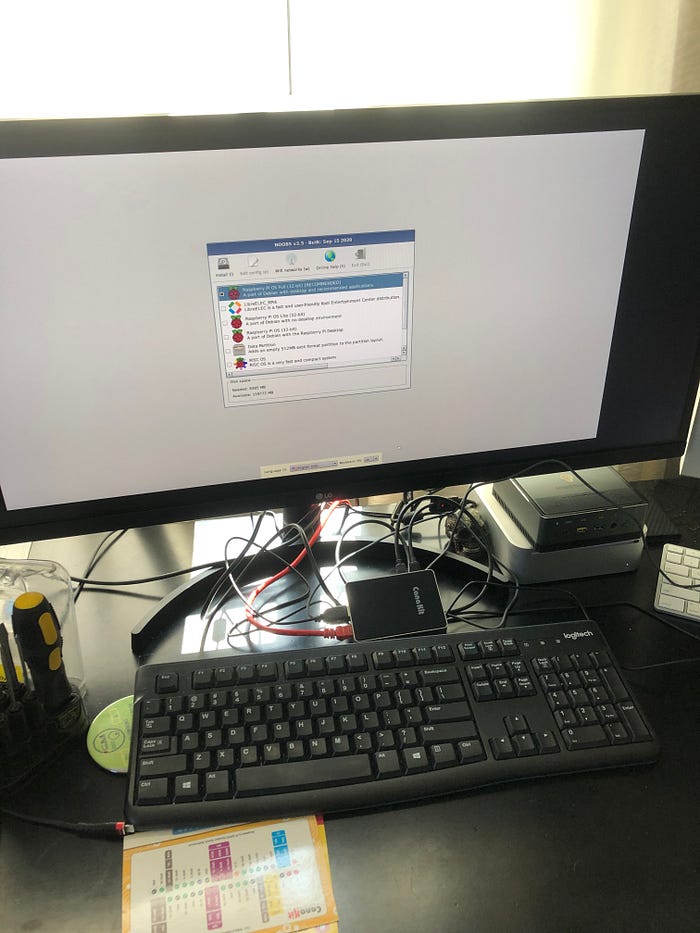
You literally follow the small set of instructions that come with the box, connect to your USB keyboard, USB mouse and your monitor using the HDMI cable; also I strongly recommend you use wired Ethernet instead of trying the wireless installation. Then you will see the nice installer, where you can go and fire the Raspberry Pi OS 32 bit.

And then you’re set, right?
No tan rápido amigos…
Anyways keep reading and you will see what I’m talking about.
The original 32 bit “NOOBS” (New Out of Box Software) image will not work with 64 bit only Docker images
Canakit comes with Raspberry PI OS (32-bit). I installed that, then Docker and then tried to install the Mariadb:latest container.
pi@raspberrypi:~$ docker run -e MYSQL_USER=$MYSQL_USER -e MYSQL_PASSWORD=$MYSQL_PASSWORD -e MYSQL_ROOT_PASSWORD=$MYSQL_ROOT_PASSWORD -e MYSQL_DATABASE=$MYSQL_DATABASE — name bocaproyectos_db -v “$MYSQL_DATA_DIR”:/var/lib/mysql -d mariadb
Unable to find image ‘mariadb:latest’ locally
latest: Pulling from library/mariadb
docker: no matching manifest for linux/arm/v7 in the manifest list entries.
See ‘docker run — help’.
That makes sense. All the available images are for 64 bit architecture. Also is a prelude of more headaches to come if you decide to stick with the 32 bit way of doing things.
The Raspberry Pi 4 fully supports 64 bits and it is also supposed to run faster that way. Time to install a new image.
So I can just use the Debian media writer on Fedora 33, right?
At the time of this writing, media writer only supports Raspberry 3.
What to do, what to do…
Easy, we will install rpi-imager through snap (It is provided only for Debian, Windows and OSX, not Fedora). But before we do that let’s make a backup of our SD card. For that put the SD card into the USB card reader into your master computer…
# Figure out how the card name. Mine showed up as /dev/sda...
sudo fdisk -l# Go and grab a cup of coffee. Actually grab 2,
# backing 128 GB takes a while
sudo /usr/bin/dd bs=4M if=/dev/sda of=raspberrypi-card-backup.img
While you wait, get yourself a copy of Ubuntu ARM64 bit server and leave it somewhere (the ~/Downloads directory is just fine).
And install the rpi-imager for Fedora 33:
[josevnz@dmaf5 ~]$ sudo dnf install snapd
…
[josevnz@dmaf5 ~]$ sudo ln -s /var/lib/snapd/snap /snap
[josevnz@dmaf5 ~]$ sudo snap install rpi-imager
2021–03–21T15:17:35–04:00 INFO Waiting for automatic snapd restart…
rpi-imager 1.6 from Alan Pope 🐧 (popey) installed
SD card backup is done, back so soon? good. Time to burn the image into the 128 GB card

Once the image is burned into the card, unplug the reader and put the SD card into the Raspberry Pi 4 computer, and reboot it. Follow this directions to get Ubuntu server installed.
In my case the wireless interface was not setup right away, but you can fix that after the first reboot (this is totally optional. But you look hardcore, so go ahead and do it…):
# Optional: Enable wireless interface on your Rasberry PI 4 (I did :-))
# sudo vi etc/netplan/50-cloud-init.yaml# This file is generated from information provided by the datasource. Changes
# to it will not persist across an instance reboot. To disable cloud-init’s
# network configuration capabilities, write a file
# /etc/cloud/cloud.cfg.d/99-disable-network-config.cfg with the following:
# network: {config: disabled}
network:
 ethernets:
 eth0:
 dhcp4: true
 optional: true
 version: 2
 wifis:
 wlan0:
 optional: true
 access-points:
 “YOUR-SSID-NAME-HERE”:
 password: “YOUR-NETWORK-PASSWORD”
 dhcp4: true
And then enable the changes:
sudo netplan — debug applyFinally, lets install Docker and also pull some containers!
Docker installation, let’s containerize some apps
Time to move on cloning that Wordpress site I have on a hosting website.
I decided to create a user called ‘pi’ to run the container, but are free to use the provided ‘ubuntu’ user. Just make sure the ‘pi’ user belongs to the docker group when you do the installation:
/usr/bin/curl --fail --silent --show-error --location https://get.docker.com| /bin/bash -ssudo usermod -aG docker pidocker run hello-world
By the way, do not ever install Docker on a production machine like this. It is the equivalent of eating a pizza slice you found on the floor of a train station :-)
Let’s take a look an example session:
pi@raspberrypi:~ $ /usr/bin/curl --fail --silent --show-error --location https://get.docker.com| /bin/bash -s
# Executing docker install script, commit: 3d8fe77c2c46c5b7571f94b42793905e5b3e42e4
+ sudo -E sh -c ‘apt-get update -qq >/dev/null’
+ sudo -E sh -c ‘DEBIAN_FRONTEND=noninteractive apt-get install -y -qq apt-transport-https ca-certificates curl >/dev/null’
+ sudo -E sh -c ‘curl -fsSL “https://download.docker.com/linux/raspbian/gpg" | apt-key add -qq →/dev/null’
Warning: apt-key output should not be parsed (stdout is not a terminal)
+ sudo -E sh -c ‘echo “deb [arch=armhf] https://download.docker.com/linux/raspbian buster stable” > /etc/apt/sources.list.d/docker.list’
+ sudo -E sh -c ‘apt-get update -qq >/dev/null’
+ ‘[‘ -n ‘’ ‘]’
+ sudo -E sh -c ‘apt-get install -y -qq — no-install-recommends docker-ce >/dev/null’
+ sudo -E sh -c ‘docker version’
Client: Docker Engine — Community
 Version: 20.10.5
 API version: 1.41
 Go version: go1.13.15
 Git commit: 55c4c88
 Built: Tue Mar 2 20:18:46 2021
 OS/Arch: linux/arm
 Context: default
 Experimental: trueServer: Docker Engine — Community
 Engine:
 Version: 20.10.5
 API version: 1.41 (minimum version 1.12)
 Go version: go1.13.15
 Git commit: 363e9a8
 Built: Tue Mar 2 20:16:18 2021
 OS/Arch: linux/arm
 Experimental: false
 containerd:
 Version: 1.4.4
 GitCommit: 05f951a3781f4f2c1911b05e61c160e9c30eaa8e
 runc:
 Version: 1.0.0-rc93
 GitCommit: 12644e614e25b05da6fd08a38ffa0cfe1903fdec
 docker-init:
 Version: 0.19.0
 GitCommit: de40ad0
If you would like to use Docker as a non-root user, you should now consider
adding your user to the “docker” group with something like:sudo usermod -aG docker pi
Run the MariaDB container
MariaDB VERY detailed setup instructions can be found here. Because I hate repeating myself, just overrode the container parameters required for my specific setup.
# ~/.bash_profile
# MariaDB setup (https://hub.docker.com/_/mariadb)
# Make sure this file is only readable by your pi user
declare MYSQL_DATABASE=”DATABASE”
# This root password is different from the WordPress user
declare MYSQL_ROOT_PASSWORD=”DIFFPASS”
declare MYSQL_USER=”USER”
declare MYSQL_PASSWORD=”PASSS”
declare MYSQL_DATA_DIR=”$HOME/data/mysql”
export MYSQL_DATABASE MYSQL_ROOT_PASSWORD MYSQL_USER MYSQL_PASSWORD MYSQL_DATA_DIR
test ! -d $MYSQL_DATA_DIR && /bin/mkdir -p -v $MYSQL_DATA_DIR
Then run the database…
. $HOME/.bash_profile # Or log out/ log in
docker run -e MYSQL_USER=$MYSQL_USER -e MYSQL_PASSWORD=$MYSQL_PASSWORD -e MYSQL_ROOT_PASSWORD=$MYSQL_ROOT_PASSWORD -e MYSQL_DATABASE=$MYSQL_DATABASE — name wordpressdb -v “$MYSQL_DATA_DIR”:/var/lib/mysql -d mariadb:latest
Sample run
pi@raspberrypi:~$ docker run -e MYSQL_USER=$MYSQL_USER -e MYSQL_PASSWORD=$MYSQL_PASSWORD -e MYSQL_ROOT_PASSWORD=$MYSQL_ROOT_PASSWORD -e MYSQL_DATABASE=$MYSQL_DATABASE — name wordpressdb -v “$MYSQL_DATA_DIR”:/var/lib/mysql -d mariadb:latest
Unable to find image ‘mariadb:latest’ locally
latest: Pulling from library/mariadb
32d7611b468c: Pull complete
e5be16fdc306: Pull complete
a361e87bde5e: Pull complete
324b95d44184: Pull complete
c7a02ed92077: Pull complete
8ea02edf9bf7: Pull complete
7f24c9bd9fe3: Pull complete
0d6d5537d6c9: Pull complete
309e2f0e8909: Pull complete
1414d2a5d07d: Pull complete
274f2315346c: Pull complete
4dbfe2815f55: Pull complete
Digest: sha256:54b817feea3022688e49aeb70b27d4cc6aa08de0b114bd664b9194b549a1d277
Status: Downloaded newer image for mariadb:latest
108d47d674a5393e720ce371443c7765ad45fe2f93fd8c98160248b51a22845a# Is alive?
pi@raspberrypi:~$ docker ps
CONTAINER ID IMAGE COMMAND CREATED STATUS PORTS NAMES
108d47d674a5 mariadb:latest “docker-entrypoint.s…” About a minute ago Up About a minute 3306/tcp wordpressdb
Nice! We have a database with a persistent volume. Now let’s get Wordpress up and running
Running WordPress container
Of course WordPress has a very detailed page for their container image as well. I only show here the settings I needed / wanted to override:
# Put these on your ~/.bashrc
# [More settings](https://github.com/docker-library/wordpress/pull/142) for ~/.bashrc
# Wordpress setup (https://hub.docker.com/_/wordpress)
# https://github.com/docker-library/wordpress/pull/142 (match your very own wp-config.php)
WORDPRESS_DATA_DIR=”$HOME/data/wordpress”
# WORDPRESS_DB_HOST=mysql
WORDPRESS_DB_USER=$MYSQL_USER
WORDPRESS_DB_PASSWORD=$MYSQL_PASSWORD
WORDPRESS_DB_NAME=$MYSQL_DATABASE
WORDPRESS_TABLE_PREFIX=XXXX_
# WORDPRESS_CONFIG_EXTRA=”WP_ALLOW_MULTISITE”
export WORDPRESS_DATA_DIR WORDPRESS_DB_USER WORDPRESS_DB_PASSWORD WORDPRESS_DB_NAME WORDPRESS_TABLE_PREFIX
test ! -d $WORDPRESS_DATA_DIR && /bin/mkdir -p -v $WORDPRESS_DATA_DIR
We are ready now to run the WordPress container.
Run the WordPress container
. ~/.bashrc
docker run -e WORDPRESS_DB_PASSWORD=$WORDPRESS_DB_PASSWORD -e WORDPRESS_DB_USER=$WORDPRESS_DB_USER -e WORDPRESS_DB_NAME=$WORDPRESS_DB_NAME -e WORDPRESS_TABLE_PREFIX=$WORDPRESS_TABLE_PREFIX — name wordpress — link wordpressdb:mysql -p 80:80 -v “$WORDPRESS_DATA_DIR”:/var/www/html -d wordpress:latest
Sample run
# Verify containers are running
pi@raspberrypi:~$ docker ps
CONTAINER ID IMAGE COMMAND CREATED STATUS PORTS NAMES
4e11dfef9c58 wordpress:latest “docker-entrypoint.s…” 23 seconds ago Up 9 seconds 0.0.0.0:80->80/tcp wordpress
108d47d674a5 mariadb:latest “docker-entrypoint.s…” 25 minutes ago Up 25 minutes 3306/tcp wordpressdb
If you notice, here we are publishing the internal docker port 80 to the host port 80. Also also linked the wordpress container to the wordpressdb container so they can communicate.
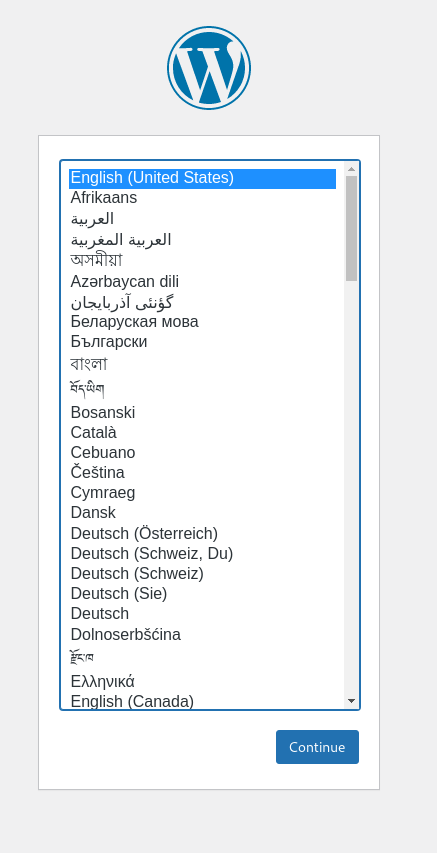
Now the real smoke test is to log into the website and finish the installation using the GUI

Yayyy :-). You can figure out the rest, I’m pretty sure.
Epilogue
As you can see you can have a very nice and cheap server running different types of software if you are willing to customize your Raspberry Pi 4. The folks of Canakit did a great job packaging all the hardware components needed so you can get started quickly.
I could have used something like Docker compose to organize my container startup but because the setup is very simple it just felt overkill…
It took me only a few hours and a little bit of cursing before getting the job done. Now it is time to polish my blog installation…
Please clap if you like this article! I also want to know what you think, so please leave me a message in the comments section.
